
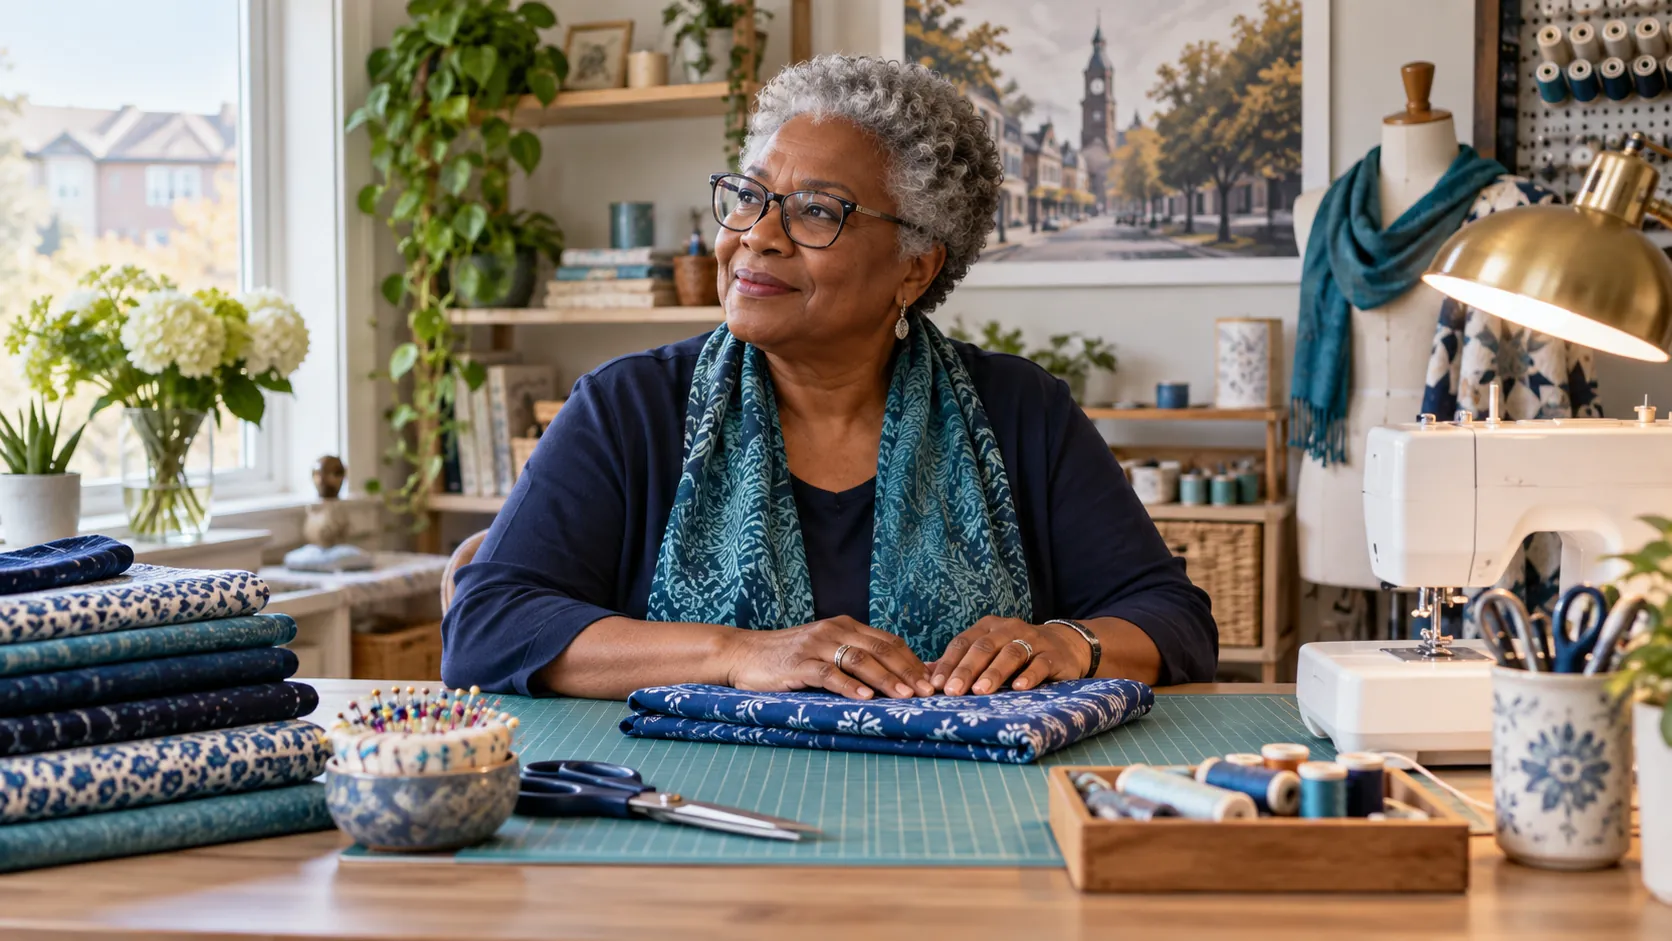
A creative project can make time disappear. You sit down to finish one seam, trim a few pieces, or add the last details to a handmade gift, then notice that the evening has passed. The work may be satisfying while the setup is less so: a lamp casts a shadow over the needle, scissors are just beyond reach, and the fabric keeps sliding off the table.
Sewing and crafting comfort in Markham starts with looking at the task you are trying to complete. Different parts of a project ask different things of your hands, eyes, neck, and back. You do not need a showroom studio to make thoughtful changes. A clear view of the work, suitable tools, and a realistic stopping point can make the hobby easier to organize without turning it into another demanding obligation.
Follow one project through its separate stages
Before changing the room, list the stages involved in a familiar project. Sewing might include measuring, cutting, pinning, machine work, pressing, and putting materials away. Paper crafts may involve repeated trimming, folding, and fine assembly. The uncomfortable moment may occur in only one stage, so treating the entire hobby as one activity can hide the practical problem.
Notice where each stage happens. Perhaps you cut on the floor, sew at a dining table, and press in a cramped corner. A useful first change could be moving supplies or creating a better transition between these spaces. Ask which part requires the longest reach, the strongest grip, or the most sustained visual concentration. That answer gives you a specific place to begin rather than an expensive list of furniture to replace.
Make the work visible before correcting how you sit
Fine details can draw you closer to the table without conscious thought. Check whether the main difficulty is lighting, contrast, small print, or the position of the work. OSHA’s fine-work guidance for sewing discusses task lighting and visual demands. Although written for workplaces, it offers useful questions for a home craft area.
Place an appropriate lamp so it illuminates the task without creating glare or putting its cord in the way. Check the view while holding the material as you normally would, because your hands or machine may cast a shadow that is not obvious when the table is empty. If seeing small details remains difficult across different tasks, arrange suitable eye care rather than continually leaning closer or assuming the chair is the whole problem.
Consider the chair, table, and pedal together
A chair adjustment changes your relationship to the work surface and, for machine sewing, the foot control. OSHA’s sewing station design resource considers these elements together, including comfortable reach, legroom, and avoiding pressure from hard edges. Use the guidance to review the whole setup rather than adjusting one item in isolation.
At a shared dining table, there may be limits to what can be changed. Start with a stable seating arrangement and clear the space underneath so your legs are not competing with storage boxes. Ask a knowledgeable sewing instructor or an ergonomics professional for help if the machine and pedal are difficult to reach comfortably. Avoid improvised platforms or unstable furniture modifications that introduce a separate safety problem.
Give large materials somewhere to go
A quilt, curtain panel, or long paper sheet behaves differently from a small sample. Plan where the material will rest before beginning a precise task. If most of it falls over an edge, you may spend the session managing its movement instead of concentrating on the work. A suitable clear support area can make the sequence easier to control.
OSHA’s sewing and stitching guidance addresses the reaching and handling demands involved in moving fabric. For a home project, translate that into simple questions: can the next section reach the work area without a long pull, and can completed material be placed safely nearby? Follow the machine manufacturer’s instructions and do not alter guards, feed mechanisms, or controls to accommodate an awkward project.
Match the cutting tool to the material
Scissors, snips, rotary cutters, and craft knives have different uses and safety requirements. Choose the tool for the material and task, and follow its instructions. A dull or unsuitable tool may tempt you to apply more force or use an awkward workaround. Have maintenance or sharpening handled appropriately rather than improvising near a blade.
OSHA’s scissor-work guidance discusses repeated hand demands and extended reaching during cutting. Bring the material into a manageable working area instead of continually stretching across a large surface. If a tool is uncomfortable to hold, seek advice about a suitable alternative before buying several products. A larger handle or spring action may be useful for some tasks, but the tool still needs to fit your hand and be safe for the material.
Organize supplies by frequency of use
Place the items you repeatedly reach for where they are easy to access, while keeping blades, pins, hot tools, and electrical equipment stored safely. The arrangement should support the actual sequence of work. A beautifully labelled shelf is less helpful if the tool you need every minute remains behind your chair.
Try laying out a small set of supplies for the current stage rather than covering the whole table with everything the project might require. Keep enough clear space to put the work down when you pause. When children or pets share the home, include their access in the storage plan. Good organization should make both the active session and the moments between sessions easier to manage.
Set a stopping point before the satisfying part begins
The final details are often the most absorbing. Decide in advance what you intend to complete and what can wait. A stopping point might be the end of a particular seam or the preparation of one set of pieces. It should leave time to make the equipment safe and store the work, not just time to perform the last creative step.
If you tend to lose track of time, use a reminder that prompts a check-in rather than a demand to finish faster. Ask whether you are still comfortable, whether concentration is fading, and whether continuing serves the project. There is no universal session length that guarantees symptom-free crafting. If you have an assessed condition, follow the activity guidance you were given and discuss how the hobby fits it.
Change the task in a meaningful way
Moving from one hand-intensive activity directly to another may not feel like much of a pause. Consider a change that lets you put the tools down and leave the working position. You might review the pattern, plan the next stage, or step away for an ordinary comfortable activity. Keep hot and sharp equipment safe before doing so.
Task changes should fit the project and your circumstances. If you are sewing to a deadline, plan them before the last evening rather than relying on willpower when the gift must be ready the next morning. Break the project into stages with realistic time estimates. The goal is to preserve the enjoyment of making something, including enough time to correct a mistake without turning the whole session into a rush.
Distinguish a setup problem from a health concern
An inconvenient lamp or distant tool is worth fixing, but persistent pain, numbness, weakness, or loss of dexterity deserves assessment. Do not assume that every symptom is caused by crafting simply because you notice it while working. Mention symptoms during sleep, work, driving, or other hobbies as well.
Describe the activity accurately when seeking help. Explain the tool, grip, duration, and movement involved, and identify which part of the hand or arm is affected. Our articles on thumb-base pain and carpal tunnel symptoms in Markham discuss different possible patterns. They can help you prepare questions, but comparing symptoms with an article cannot establish the diagnosis or the right treatment.
Make equipment decisions answer a specific question
Before purchasing an ergonomic accessory, identify what it is supposed to improve. Does it make the work easier to see, support material, reduce an awkward reach, or fit a tool more comfortably in your hand? Ask whether you can try it and whether it works with the equipment you already own. A product label alone cannot answer those questions.
Change one practical feature at a time when feasible. Keep a brief note about the adjustment and the task you tried afterward. This is a way to learn about the setup, not a medical experiment in how much discomfort you can tolerate. If symptoms persist or worsen, seek assessment rather than continuing to buy accessories in the hope that the next item will explain the problem.
Bring a useful view of the hobby to an appointment
A clinician may understand the task better if you describe it with a simple photograph of the setup or bring a small tool when appropriate. Ask in advance what would be useful. Do not demonstrate a painful movement repeatedly, and avoid transporting sharp or bulky equipment unnecessarily. A clear explanation is often enough to begin the discussion.
Mention the importance of the hobby to you. Sewing may be a creative outlet, a way to participate in family traditions, or part of paid work. Those differences affect the practical plan. Ask what can continue, what should change temporarily, and how the plan will be reviewed. Advice is easier to follow when it acknowledges both the task and the reason you value it.
Leave the space ready for a comfortable return
End with the work safely stored, the next step identified, and frequently used tools returned to their places. If the setup needs to be packed away after every session, note the chair and equipment arrangement that worked so it is easy to recreate. This can reduce the friction of beginning again on a busy day.
For ongoing musculoskeletal discomfort, contact Prime Spine to discuss whether an assessment is appropriate. This article offers general planning and workstation ideas rather than a diagnosis or a personalized treatment programme. A hobby should have room for concentration, creativity, and pauses, with a setup that helps you enjoy the work you came to do.