
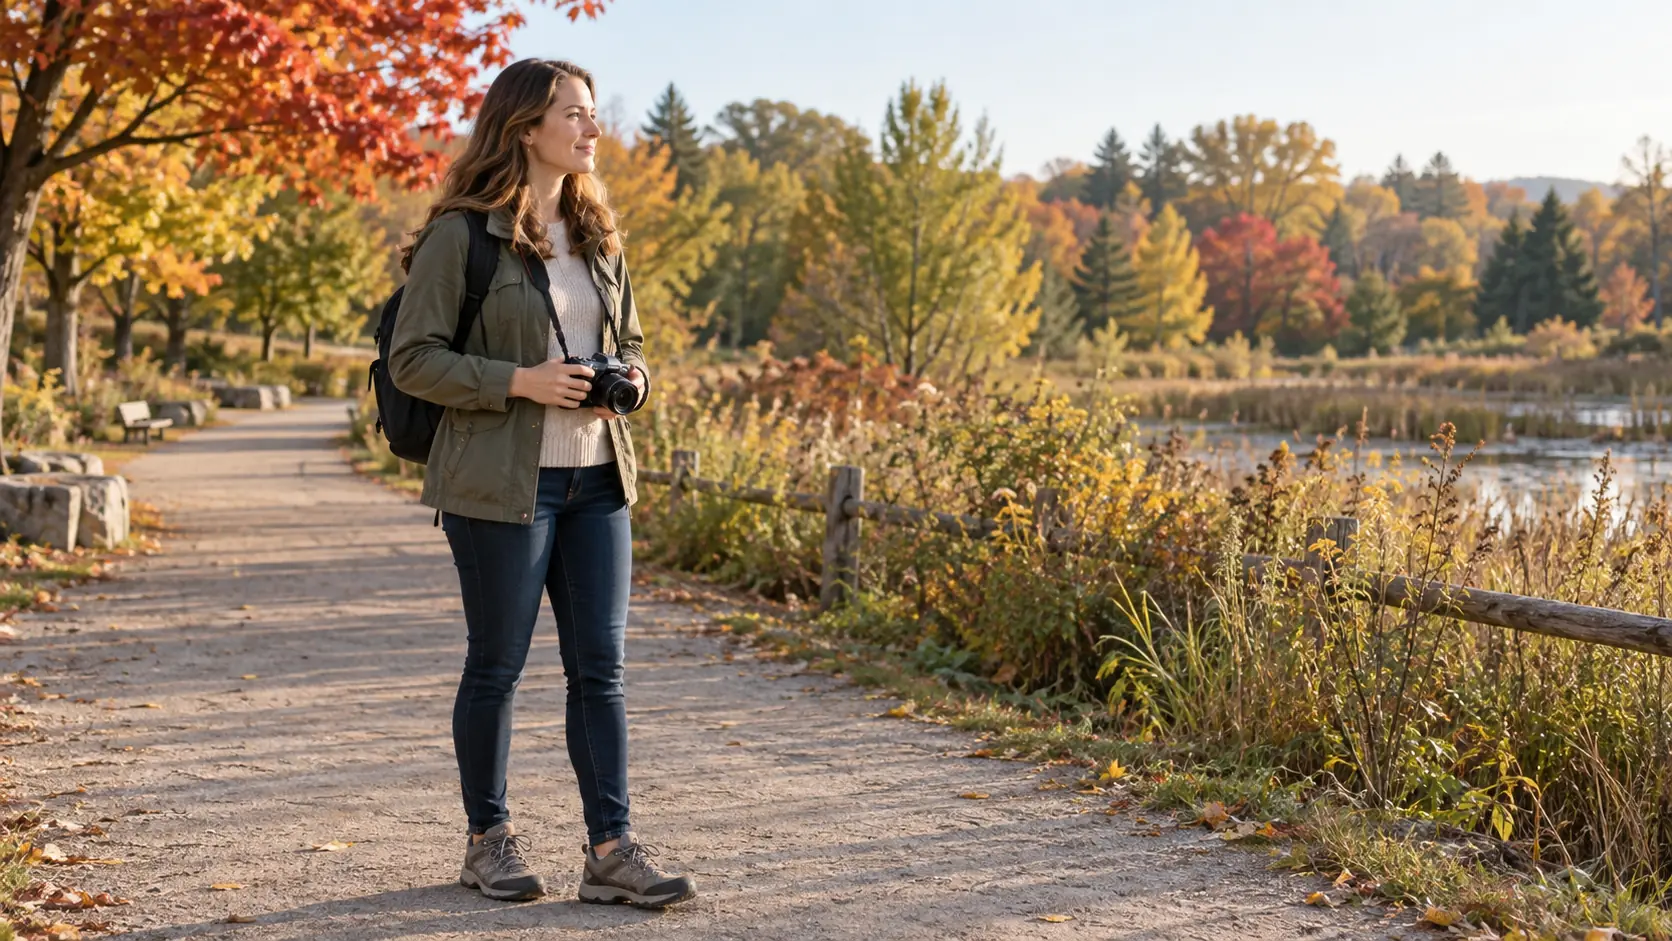
A photography walk can begin with a simple intention: take the camera outside and notice something interesting. The outing becomes more complicated when the bag is full of equipment, the route is longer than expected, or each possible image seems to require an awkward position. By the time you return, you may have spent more energy managing the kit than enjoying the place you came to see.
For photographers in Markham, comfort starts with the shape of the outing. What do you want to photograph, how far do you want to go, and what equipment will actually help? Answering those questions can make the walk easier to organize without prescribing a single posture or a perfect camera bag. The aim is to leave enough attention for the subject, the surroundings, and the pleasure of making photographs.
Give the outing one main purpose
Before packing, choose a simple theme. You might look for reflections, tree shapes, architectural details, or the changing light along a familiar path. A defined subject helps you decide what to bring and where to go. It can also make a shorter route feel complete because success depends on observation rather than distance covered or the number of locations visited.
Leave room for surprises, but do not require yourself to be equipped for every possible image. A bird in the distance does not mean a walk planned around street details has failed because you left a long lens at home. The equipment you choose sets useful boundaries. Working within them can reduce decisions during the outing and make it easier to finish when planned.
If you are meeting friends, explain the purpose and pace in advance. Some groups want to cover several locations quickly; others prefer to remain in one place waiting for light. Neither approach is inherently better, but a mismatch can make the day frustrating. Agree on the route, likely stops, and an easy way for someone to leave earlier.
Plan the return before the first photograph
A route should make sense in both directions. Think about where you will start, how you will return, and whether there are convenient places to pause. A short outward walk can become a longer outing when you stop repeatedly, explore side paths, and spend time setting up equipment. Consider the total time outside as well as the distance shown on a map.
Choose a route that matches your current walking tolerance and the conditions that day. If symptoms or an existing condition affect mobility, follow the guidance of the professional involved in your care. Do not use a photography destination as a reason to exceed a prescribed restriction. A nearby subject or a seated observation point can still support a worthwhile creative session.
For organized shoots or use of particular locations, check current requirements. The City of Markham’s photography and videotaping information explains designated locations and reservation arrangements. Check the rules that apply to your specific activity rather than assuming a casual walk and an organized event have identical requirements. Respect posted signs, other visitors, and any closures on the day.
Pack for the photographs you intend to make
Lay out the proposed kit before placing it in the bag. Ask what each item is for during this particular outing. A second lens, spare body, large tripod, and several accessories may each have a purpose, but not necessarily on the same short walk. Keep essential personal items in the plan as well, including anything required for your health, communication, or the expected weather.
The Canadian Centre for Occupational Health and Safety identifies load weight, carrying distance, grip, repetition, and the environment as factors in manual handling. Its general lifting guidance is written for work tasks, but it supports the practical idea of considering the whole carrying task rather than only the weight of one item. Applying that idea to a camera outing means reviewing the packed bag and the route together.
You do not need to replace everything with new equipment. First try a more selective kit using what you already own. Remove items that were packed only because they live in the bag. Keep a short note after the walk about what you used and what you missed. Over several outings, that record can make future packing more deliberate without turning gear selection into another shopping project.
Check the bag as a working arrangement
Try the packed bag at home before a longer outing. Notice whether you can put it on, remove it, and access the camera without a struggle. Adjust the available straps according to the design and your comfort. A bag that feels acceptable while standing in front of a mirror may be inconvenient when you need to retrieve a lens or replace a battery outside.
Think about where equipment changes will happen. A stable surface or a planned stop may be easier to manage than reaching into a bag while walking. Keep frequently used items accessible without creating a risk of dropping them. If you need to remove the bag, choose a place where it will not block the path or force other people to step around your equipment.
No bag style suits every person and every outing. The useful comparison is whether the arrangement fits the amount carried, your needs, and the route. If a strap repeatedly causes pain, numbness, or skin problems, change the plan and seek assessment when symptoms persist. Tightening it further or adding another accessory is not automatically the answer.
Separate walking from looking through the camera
Stop in a safe place before concentrating on the viewfinder or screen. A compelling composition can narrow your attention to the frame while other people, bicycles, uneven ground, or a curb remain outside it. Check the area around you before moving, especially if you are tempted to step backward to widen the picture. Recompose from a position you can reach safely.
Allow other people to pass without having to navigate your bag or tripod. When photographing with a group, avoid spreading across the full width of a shared route. A short pause to let the space clear often makes the experience better for everyone. It can also provide time to reconsider the composition instead of rushing to take the picture immediately.
Do not treat every possible camera angle as an obligation. If a low or high viewpoint is awkward, consider a different subject, a different framing, or a later visit with a suitable setup. A photograph is a creative choice. Missing one angle is preferable to losing control of equipment or entering a position you cannot comfortably leave.
Make waiting part of the plan
Photography often involves periods of waiting between short bursts of activity. You may remain near one subject for longer than expected while watching light or looking for a clear view. Notice when the outing has shifted from walking to prolonged waiting. If that becomes uncomfortable, change position, take a planned break, or move on according to what suits your needs.
A tripod may reduce the need to hold a camera for a particular shot, but it also adds carrying and setup demands. Decide whether it is useful for the photographs you intend to make. Check that it can be placed securely without obstructing others and that you can manage its adjustments. Do not bring it solely because a more elaborate setup seems more professional.
For a hypothetical evening walk, you might select one viewpoint near the start, make a few photographs, and continue only if the outing remains manageable. Another day might be devoted entirely to waiting at that same viewpoint. Keeping those as separate plans can avoid the pressure to combine a long walk and a lengthy stationary shoot every time.
Consider weather and changing light
Check conditions before leaving and remain willing to revise the outing. Rain, cold, heat, wind, and diminishing daylight affect both the environment and the practical handling of equipment. Think about how you will protect the camera without making controls difficult to manage or blocking your view of the path. A weather cover is useful only if you can use it securely.
Leave enough time to return before the route becomes harder to navigate. The desire for one last photograph can extend an outing beyond the original plan, especially when the light is changing quickly. Set a clear return point that accounts for the distance back and any stops you still need. Tell a companion when you intend to leave rather than quietly trying to keep pace with their schedule.
If conditions are poor, change the subject or location. A sheltered detail, a view from a permitted indoor space, or a different day can all serve the same creative interest. The purpose of the outing is not to prove that you can photograph in every condition. It is to make images while managing the setting and your own needs sensibly.
Include the editing time afterward
The walk may be followed by an hour of sorting images, charging batteries, and preparing files. Plan a comfortable place to do that work instead of automatically continuing on a small screen wherever you first sit down. Arrange the display and controls so you can use them without an unnecessary reach, and allow yourself to pause before beginning a long editing session.
Separate essential tasks from optional ones. You may want to back up the images promptly, while detailed selection and editing can wait. A simple import routine can protect your work without requiring you to finish every photograph that evening. If you already have an uncomfortable neck, hand, or shoulder, include the computer work when describing the day’s demands to a clinician.
Keep the version that makes you want to return
After the outing, ask which part felt enjoyable and which part required too much effort. Was the route suitable? Did you use the equipment you carried? Did the group pace work for you? Change one practical detail for the next walk and see whether it helps. Comfort is easier to evaluate when the change is specific rather than an entirely new kit, route, and schedule.
If recurring pain or altered sensation is limiting photography, contact Prime Spine in Markham to discuss assessment and appropriate support. Describe the carrying, shooting, walking, and editing tasks separately. A clear account can help identify what needs attention while preserving the part of the hobby that brought you outside: noticing a scene and deciding how you want to show it.