
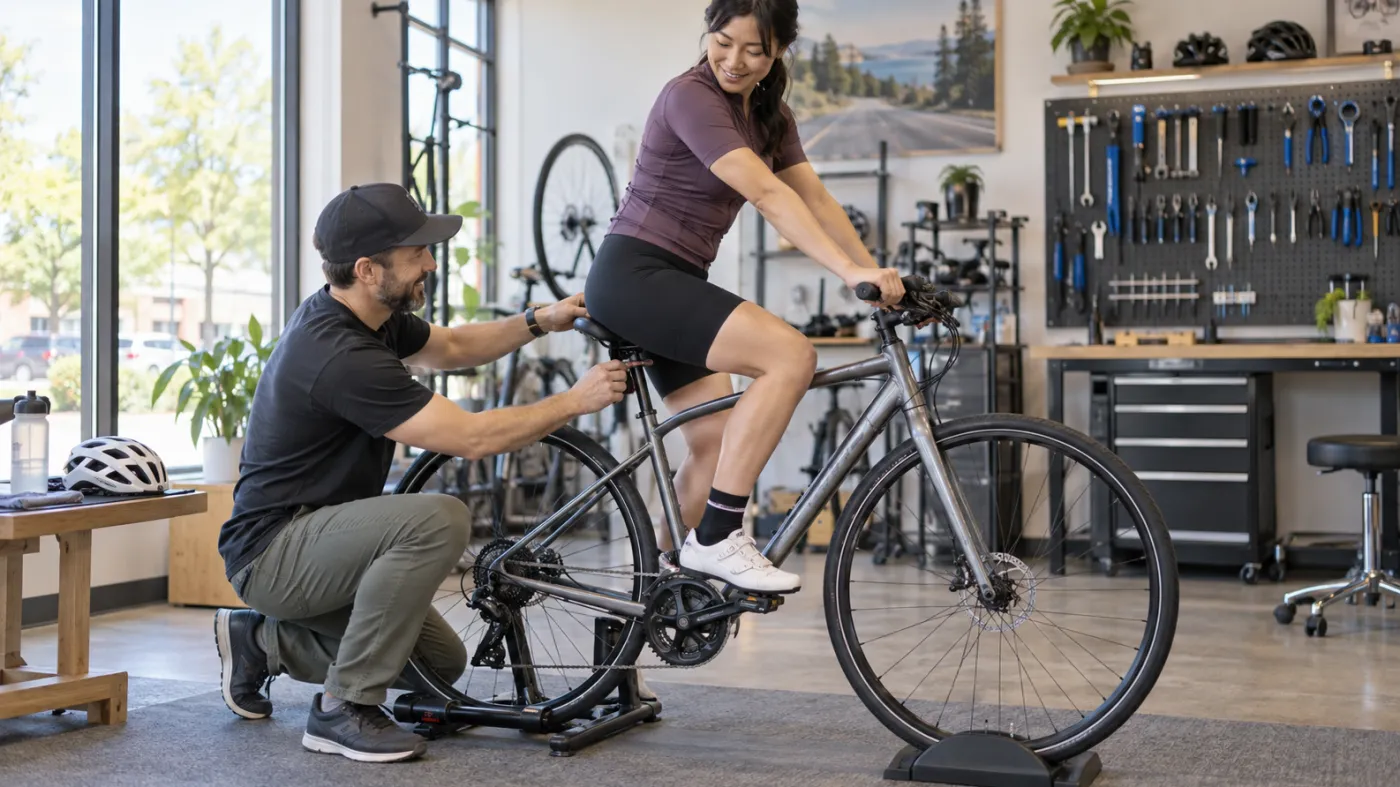
A bicycle is adjustable, but riders often adapt themselves to whatever position the bike happened to have when it left the store. They slide forward, reach for the bars, point a knee away from the frame or tolerate numb hands because cycling is expected to feel uncomfortable. Small changes can make a meaningful difference, yet chasing exact angles can create a different problem: constant adjustment with no time to adapt.
Bike fit is the relationship between rider, bicycle and purpose. A relaxed trail ride, daily commute and long road event ask for different positions. Body proportions, mobility, previous injuries and cycling experience matter. The goal is not a photograph of perfect posture; it is a setup that permits safe control, steady breathing and tolerable loading.
Markham’s cycling and trail maps show on-road and off-road connections, and the City publishes riding-safety guidance. Route and bike fit belong in the same conversation because surface, distance, traffic and stops change how the body experiences the ride.
Confirm the bicycle is the right general size
Adjustments have limits. A frame that is far too large may keep the handlebars beyond a comfortable reach even with a short stem. A frame that is very small may feel cramped or place the saddle and bars outside their safe adjustment ranges.
Stand-over clearance, reach and available seat-post adjustment provide clues, but manufacturer sizing varies. A qualified bike shop can check whether the frame offers a workable starting point. Do not raise the seat post beyond its minimum insertion mark or use incompatible stems and handlebars to rescue a poor fit.
Children need a bike that fits now, not one they will grow into. Safe stopping and control matter more than extending the purchase for several seasons.
Begin with saddle height
When the saddle is too low, the knees remain deeply bent and the thighs may fatigue quickly. When it is too high, the pelvis may rock, the rider may point the toes to reach the bottom of the stroke, and the saddle can create pressure.
A common starting check is a slight knee bend at the bottom of the pedal stroke with the ball of the foot in the usual position. This is not a final measurement. Observe whether the hips remain relatively steady, the rider can pedal smoothly and stopping remains safe.
Change height in small increments, often just a few millimetres, and mark the original position before moving it. Test on a short familiar ride. Large adjustments can shift load quickly to the knees, hips, back or Achilles tendon.
Set saddle fore-aft and tilt for support
The saddle can slide forward or backward on its rails. This changes reach and the relationship between the body and pedals. Use it to support pedalling, not solely to compensate for a frame that is too long or short.
Most riders begin with the saddle close to level. A nose tilted sharply upward can increase pressure, while a steep downward tilt may cause sliding and extra arm effort. Small changes are more useful than dramatic ones.
Saddle shape and width matter. The sit bones need appropriate support, but more padding is not always more comfortable on longer rides. A broad soft saddle may compress and create friction. Cycling shorts can reduce seams and moisture, though they are optional for short recreational trips.
Adjust reach to reduce unnecessary effort
The handlebars should allow relaxed elbows, accessible brakes and confident steering. If the rider must lock the elbows or round forward aggressively just to reach, the bars may be too far away or low for the riding purpose.
Raise or shorten the cockpit only with compatible parts and within manufacturer limits. A more upright position can improve comfort and visibility for many recreational riders, but it may shift pressure toward the saddle. Every change has trade-offs.
On a drop-bar bike, the rider should be able to use required hand positions and operate brakes safely. A professional can assess hood placement, bar width and stem length.
Check hands, wrists and contact pressure
Numb or tingling hands can reflect prolonged pressure, wrist position, vibration, glove fit or a problem originating elsewhere. Keep wrists reasonably aligned with the forearms and vary hand position when the bicycle allows. Avoid gripping harder than road conditions require.
Padded gloves help some riders but do not solve a cockpit that places too much weight forward. Check tyre pressure and bar tape because excessive vibration can add demand. Pressure must remain within tyre and rim specifications and should suit rider, surface and equipment.
Persistent numbness, weakness or loss of hand control deserves assessment. Safe braking cannot be compromised.
Align feet without forcing identical knees
Flat pedals should be large enough for stable contact and have suitable grip. Footwear should remain secure and allow controlled pedalling. For clipless systems, cleat position affects foot angle and knee movement; adjust gradually and confirm safe release before riding in traffic.
Knees do not need to trace perfectly vertical lines. Anatomy differs. A knee that naturally moves slightly inward or outward is not automatically faulty. Pain, sudden change or contact with the frame is more relevant than cosmetic symmetry.
If cleat adjustments are unfamiliar, use a qualified fitter. An incorrect setup can make releasing difficult and increase fall risk.
Build time in the saddle gradually
Even a well-fitted bike cannot make the body instantly ready for a three-hour ride. Hands, neck, back and sitting tissues need time to adapt. Start with a duration that allows recovery and add time or terrain across weeks.
Increase one major feature at a time: distance, speed, hills or consecutive ride days. A long group ride may create both distance and pace increases because riders work harder to stay together.
Use brief stops to stand, walk and reassess. A problem that appears only after 90 minutes is still useful fit information, but the first response may also be building endurance.
Use gearing to manage joint demand
Pushing a very hard gear at low cadence increases force per pedal stroke. Shift before the hill becomes steep and use a gear that permits a smooth rhythm. Spinning extremely fast without control is not the alternative; find a cadence that feels sustainable.
Beginners sometimes avoid shifting because controls are confusing. Practise in a low-traffic area. Learn how the front and rear gearing interact, and do not shift under excessive force if the system is not designed for it.
A properly maintained drivetrain changes gears more predictably. Skipping gears or a dropping chain is a safety and comfort issue.
Prepare the neck and back with position changes
Cycling holds the head oriented toward the route while the trunk remains relatively fixed. Riders may feel neck or lower-back fatigue as distance grows. Vary hand position, change torso angle and stand briefly on the pedals when safe and skilled.
Off-bike strength can build capacity. Rows, presses, hip hinges, squats and trunk exercises are useful options. Neck and upper-back endurance can be trained gradually rather than relying only on stretching.
Do not force the back flat or keep the abdomen maximally braced. The spine can adopt a range of cycling positions depending on bike type and speed.
Make safety part of comfort
A rider who feels unsafe often grips harder and rides more rigidly. Choose routes that match confidence. Markham’s map identifies different facility types, but the City notes that riders remain responsible for evaluating traffic, conditions, experience and temporary obstacles.
Follow traffic laws, ride predictably, use hand signals and check behind before changing position. The City’s safety guidance advises visibility with bright or reflective clothing and front and rear lights, as well as avoiding headphones and multitasking.
On multi-use paths, yield to pedestrians, use a bell before passing and reduce speed around children, dogs and blind corners. Do not stop in the middle of the route.
Wear a correctly fitted helmet
Use an approved bicycle helmet that fits level and secure according to manufacturer instructions. Replace it after an impact or when the manufacturer recommends due to age or damage. A helmet should not rock substantially or block vision.
In Ontario, helmet requirements vary by rider age, but head protection is a sensible choice for all riders. A helmet does not prevent every injury and does not replace safe speed, visibility and road behaviour.
Avoid attaching unapproved objects that may interfere with helmet performance.
Separate fit discomfort from medical symptoms
Saddle pressure that settles quickly after a short ride differs from persistent numbness, skin breakdown or urinary and sexual symptoms. Those signs require a prompt fit review and medical assessment when they continue.
Knee discomfort may relate to a rapid increase in hills, gearing, saddle position or another condition. Neck and hand symptoms may involve the bike, training load or nerve irritation. Change one fit variable and reduce the provoking dose rather than moving every component.
Keep notes about time to symptom onset and the adjustment made. A photo or short video from the side can help a fitter, but it cannot replace the rider’s experience.
What a professional bike fit should include
A useful fit begins with questions about riding goals, current symptoms, previous injuries and equipment. The fitter should observe pedalling and control, explain changes and respect manufacturer limits. The process may include saddle, cockpit, cleat and handlebar adjustments.
No fit can guarantee freedom from injury. Avoid claims that a precise knee angle is medically perfect for everyone or that visible asymmetry must be corrected. The final setup should be tested outside the studio under normal riding conditions.
If pain or neurological symptoms are significant, coordinate fit with a healthcare assessment. The bicycle may reveal a problem without being its only cause.
Maintain the machine
Comfort and safety depend on maintenance. Check tyre condition and pressure, brakes, quick releases or through-axles, chain and lights before riding. Ensure the saddle and bars do not move under normal force.
After transporting the bike, confirm wheels and controls are secure. A professional service is appropriate when components are worn, damaged or unfamiliar.
Carry basic repair supplies and identification. Plan how to return if the bicycle cannot be ridden; physical discomfort becomes harder to manage when stranded far from home.
Respond to pain without abandoning cycling
For mild load-related symptoms, shorten the ride, choose flatter terrain and review recent changes. Maintain comfortable general activity and adjust one fit factor at a time. As symptoms settle, rebuild from the last tolerated duration.
Seek urgent care after a collision with head injury, severe neck or back pain, breathing difficulty, obvious fracture, uncontrolled bleeding or neurological symptoms. Persistent numbness, weakness, saddle-area symptoms or pain affecting safe bicycle control warrants assessment.
Do not return to road riding until braking, steering, balance and attention are reliable.
Adjust the ride to the rider
Cycling comfort and bike fit in Markham begin with a suitable frame, sensible saddle height, reachable controls and a route that matches experience. They continue with gradual time in the saddle, general strength and regular maintenance.
Make small measured adjustments and test them. The correct fit is not the one that matches a diagram most closely; it is the one that supports safe control and lets the rider recover well enough to want the next ride.
This article provides general education and is not a professional bike fit, medical assessment or road-safety course. Follow equipment instructions and seek urgent care after serious collisions or neurological symptoms.